Overview
For the halloween of 2017 I decided I wanted to make my own
costume myself and wanted an element of this costume to be
technological.
Wrench
from the game Watch_Dogs 2 provided the perfect oportunity for
this. Wrench's mask has LED matrices in the eyes that change in
order to match his emotional state or current thoughts. This meant
I had to have an led display in the eyes thin enough to allow me
to still wear the mask, a board to control those leds and some way
of triggering the change of the design displayed.
Unfortunately I didn't manage to finish this project in time for
said halloween and it was left untouched until halloween 2018 when
I decided to finish it.
The Tech
The parts used in the mask were:
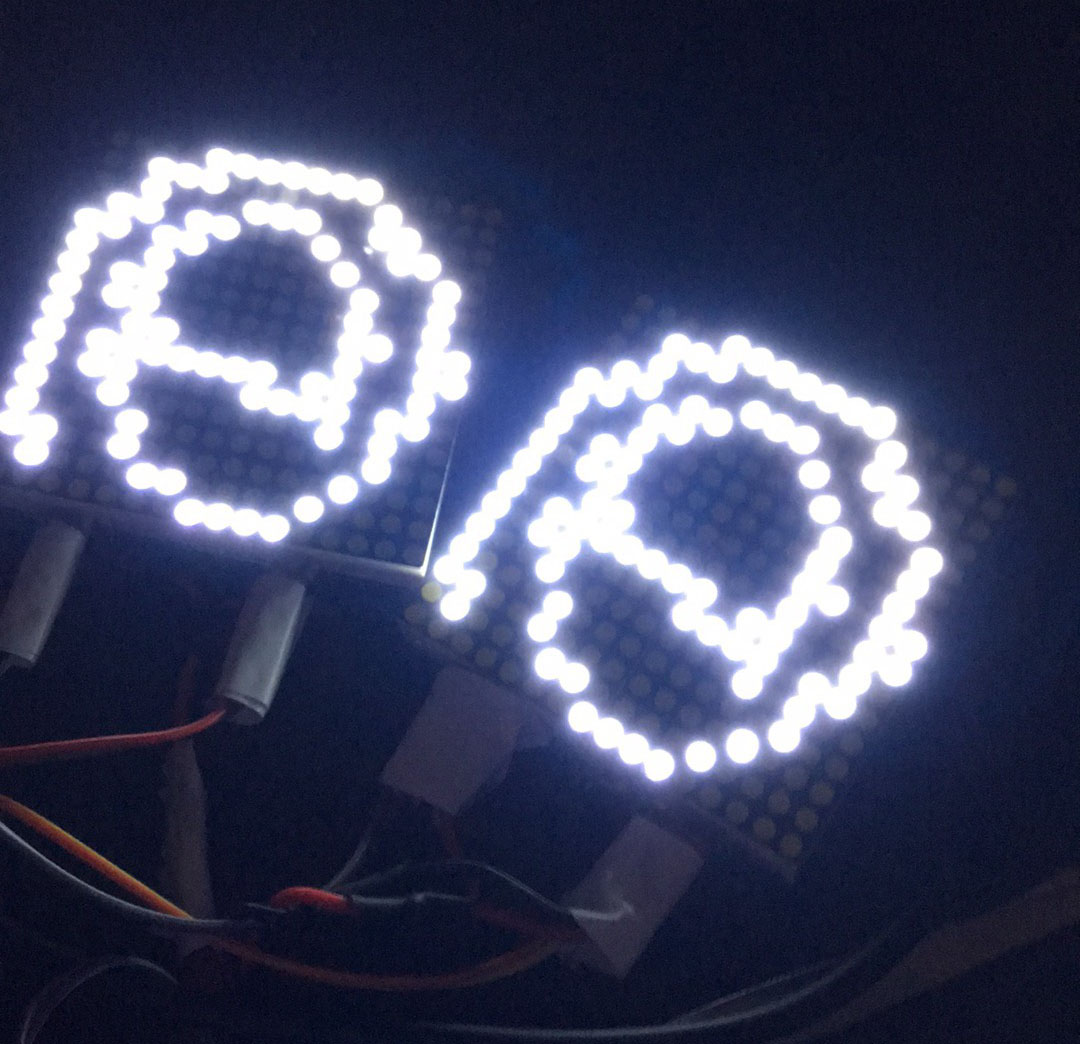
- 4 8x16 LED matrices with driver boards
- 1 Adafruit Bluefruit LE Feather Board
The LED matricies were paired up and superglued together to create two 16x16 matrices, one for each eye. The deiver boards communicated with the feather using I2C, and each had 3 solderable pads that indicated their address (allowing for 8 total), these were soldered to address the matrices 0-3. This allowed me to create a makshift buss that all the matrices connected too, but would only listen to if I so desired. Finally all of the matrices were powered in parallel from the 5V pin on the featherboard.

The Code
The majority of the written code consists of variables storing the
binary 'images' that are to be displayed.
The majority of the functional code consists of setup for the LED
matrices and the LE bluetooth connections (almost all of which are
dealt with using adafruit libraries).
The control code simply plays an animation, starts the random
emote timer and functionality and starts listens over bluetooth
for a 'command' which matches an action that can be taken:
- If a number less than 1000 or equal to, then match the input to an emote.
- If a number greater than 1000, then set emote change time to said number (in milliseconds).
The code can be found on my github for any interseted parties.
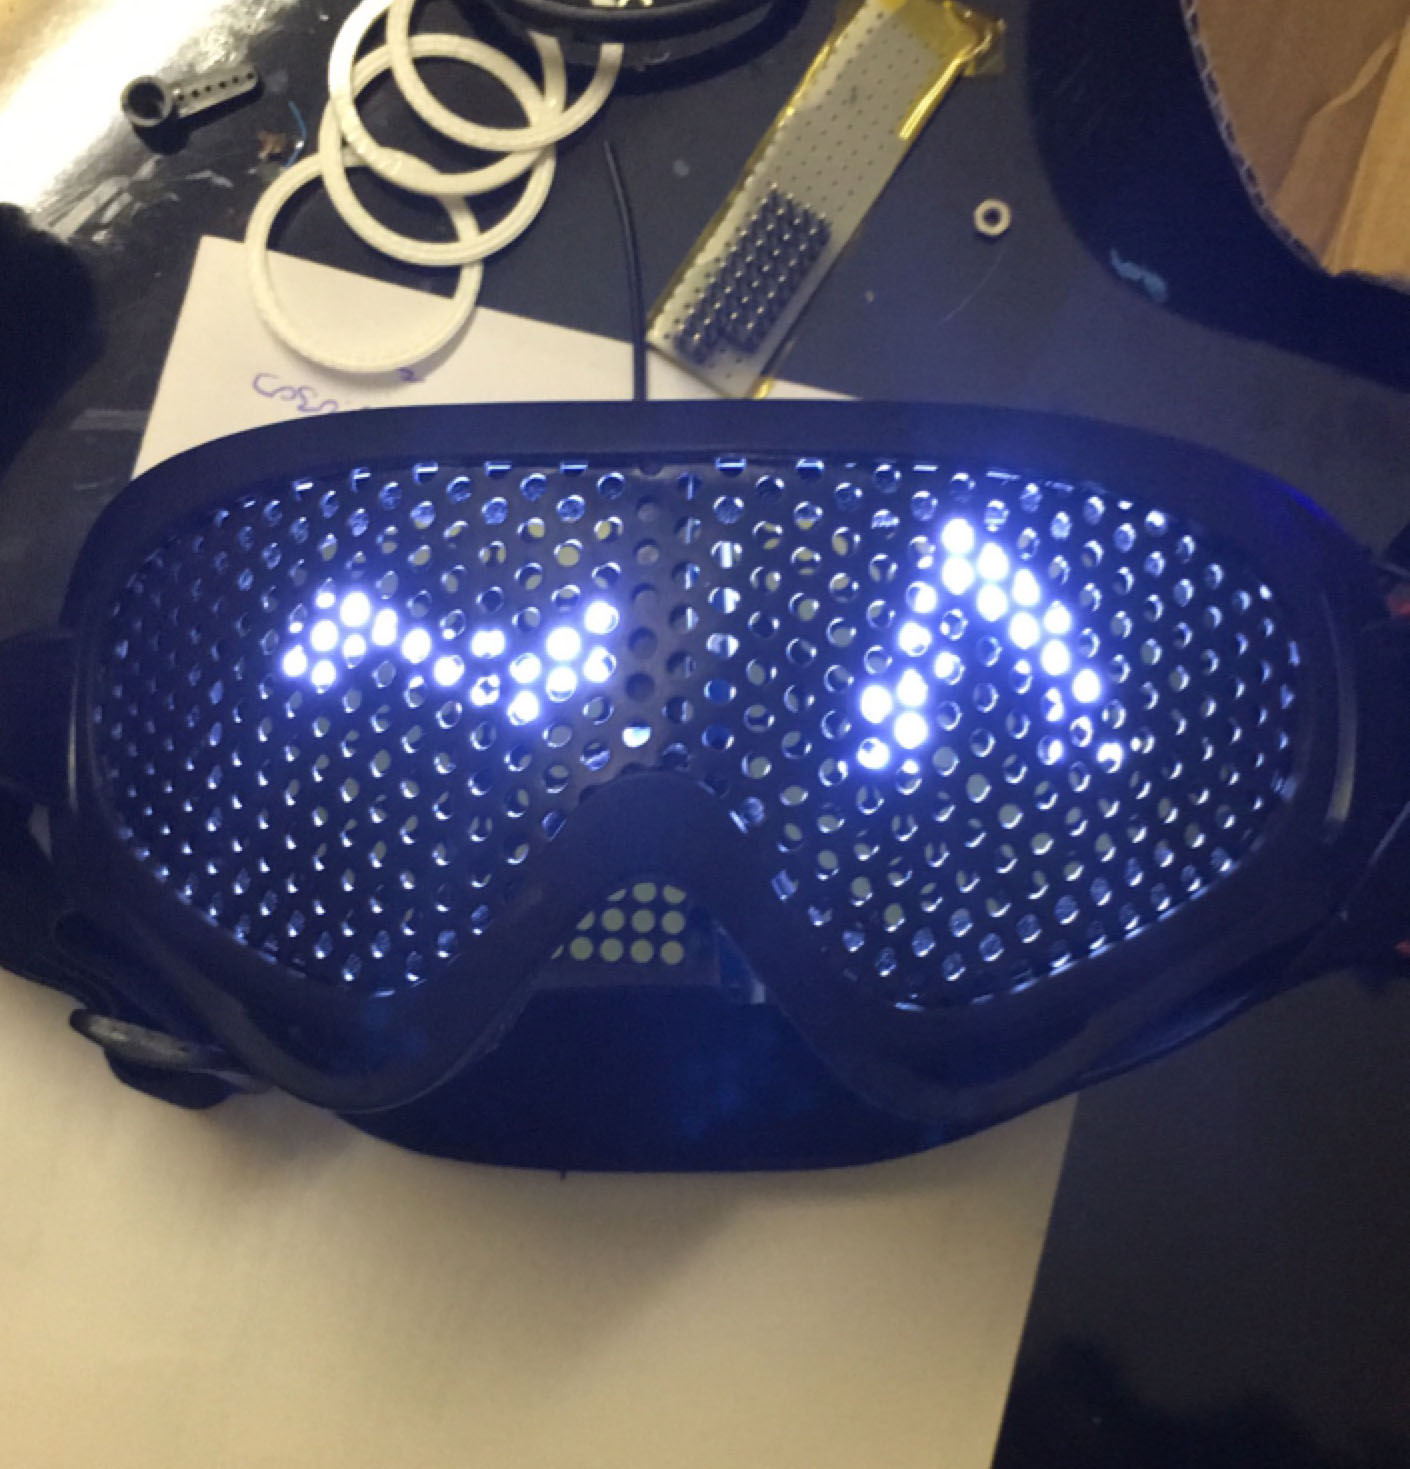
Mask V1
I decided to use skiing goggles and perforated sheet metal
(aluminium for ease of cutting) to house the LEDs. I removed the
lens from the goggles and covered it with masking tape, I then
peeled of the masking tape and stuck that flat on the sheet metal,
and traced around it to get the shape I needed. I cut the metal
with tin snips, bent it into shape and spray painted it black. I
could then simply pop it into the goggles as a replacement
'lense'.
As you can probably see from the images from the last paragraph
and this one, initially the LED matrices were set up to display
with the power and data wires coming out of the right of the
display. This posed many issues with fitting the displays inside
the goggles I had bought to house them as the wires of the left
display would get in the way of the right one and the wires of the
right display would stick out the side of the goggles. This along
with weak soldering connections and the lower half of the mask not
arriving in the post caused the desired deadline to pass by
without having completed the mask.
The project then went untouched until october 2018 when I decided
to pick it up and finish the project.
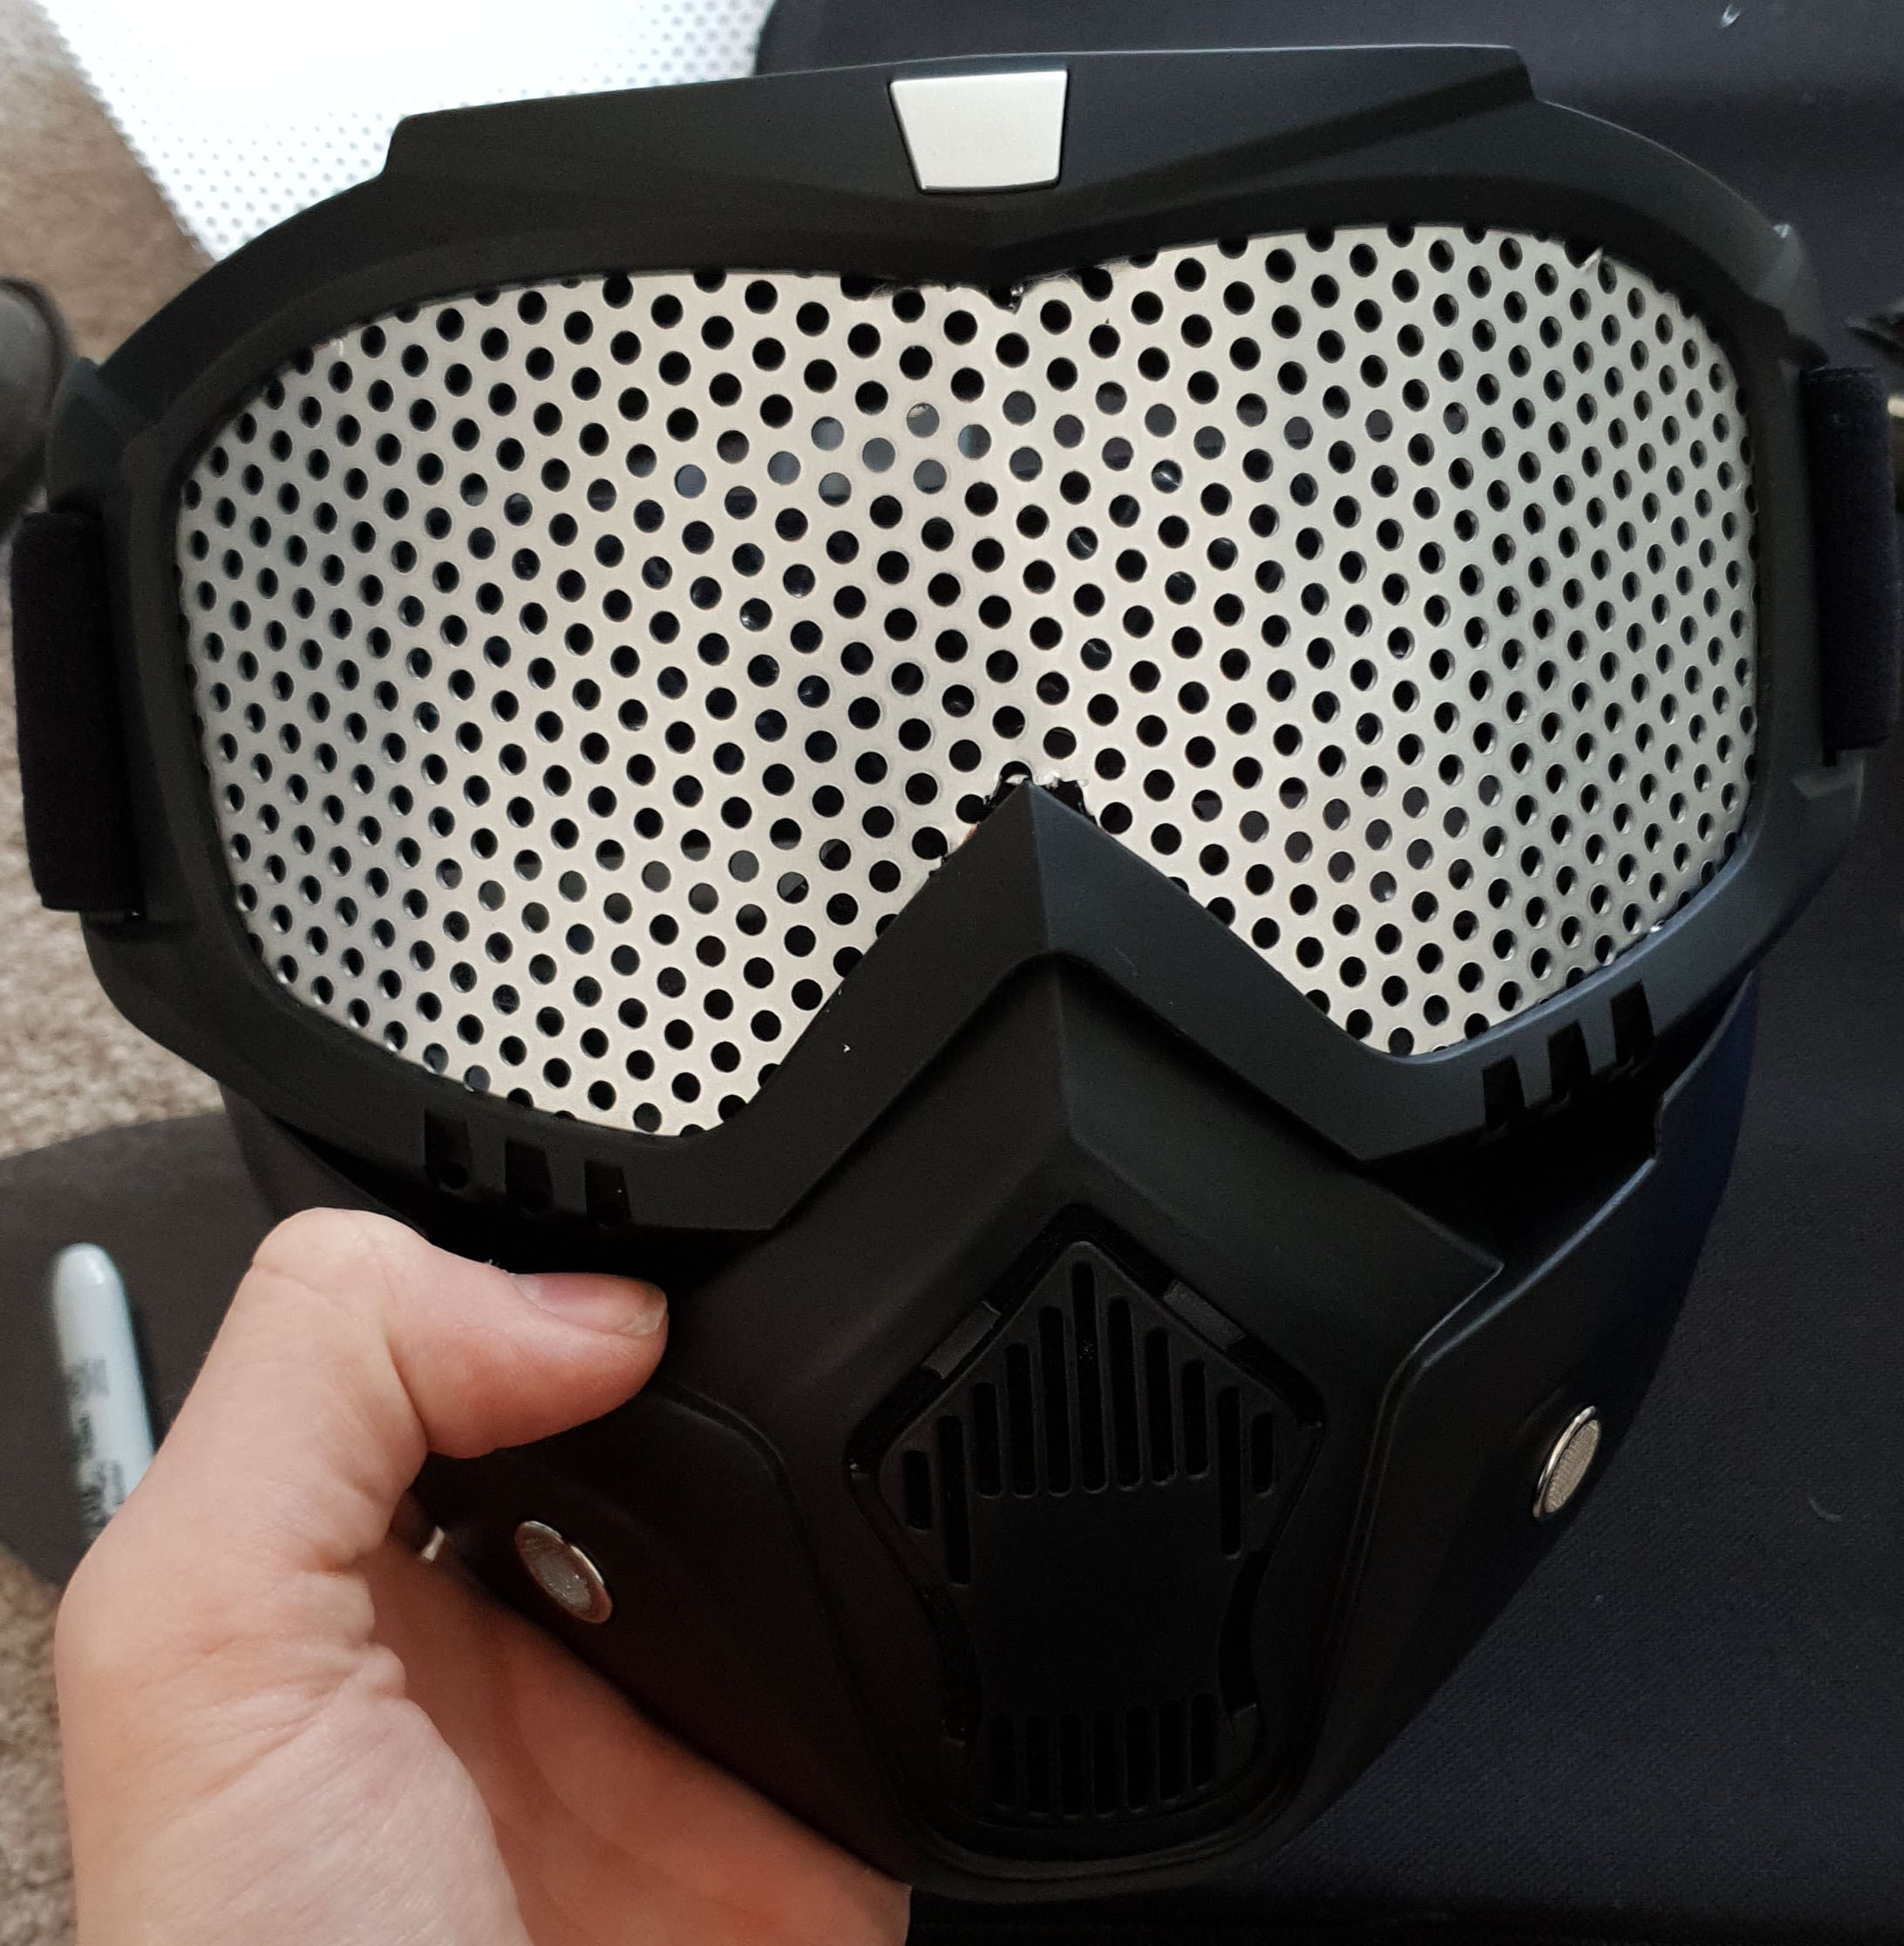
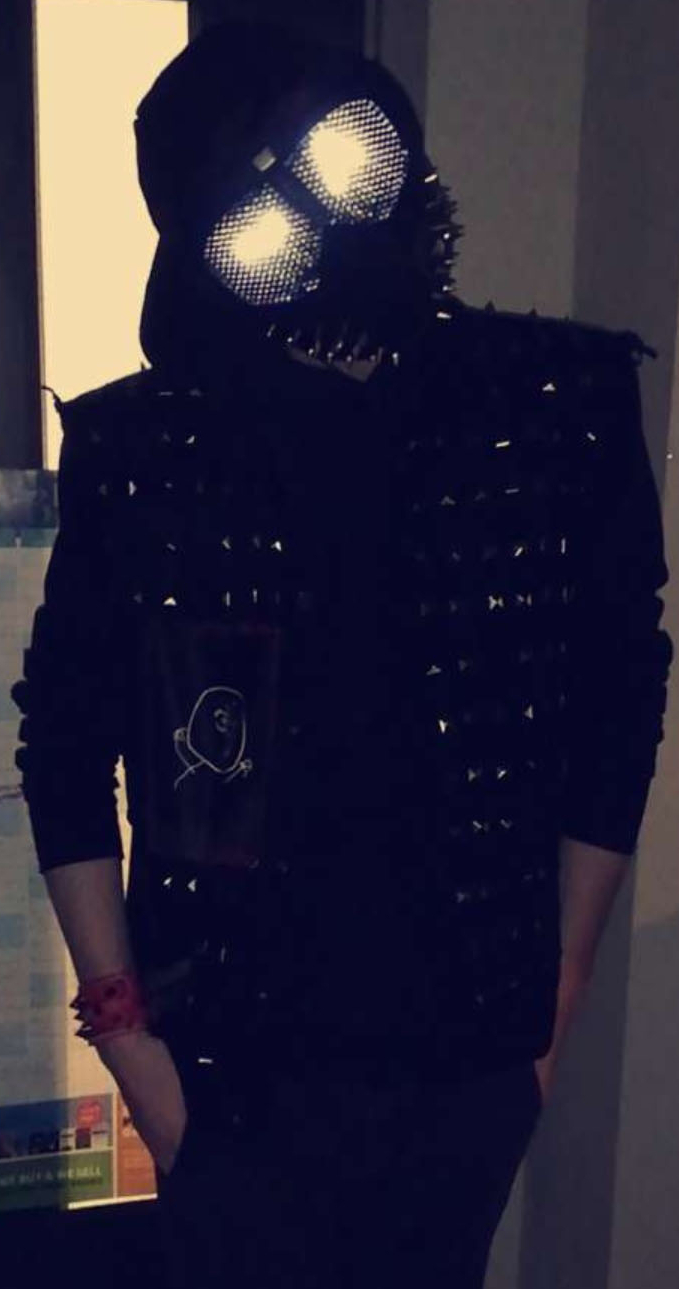
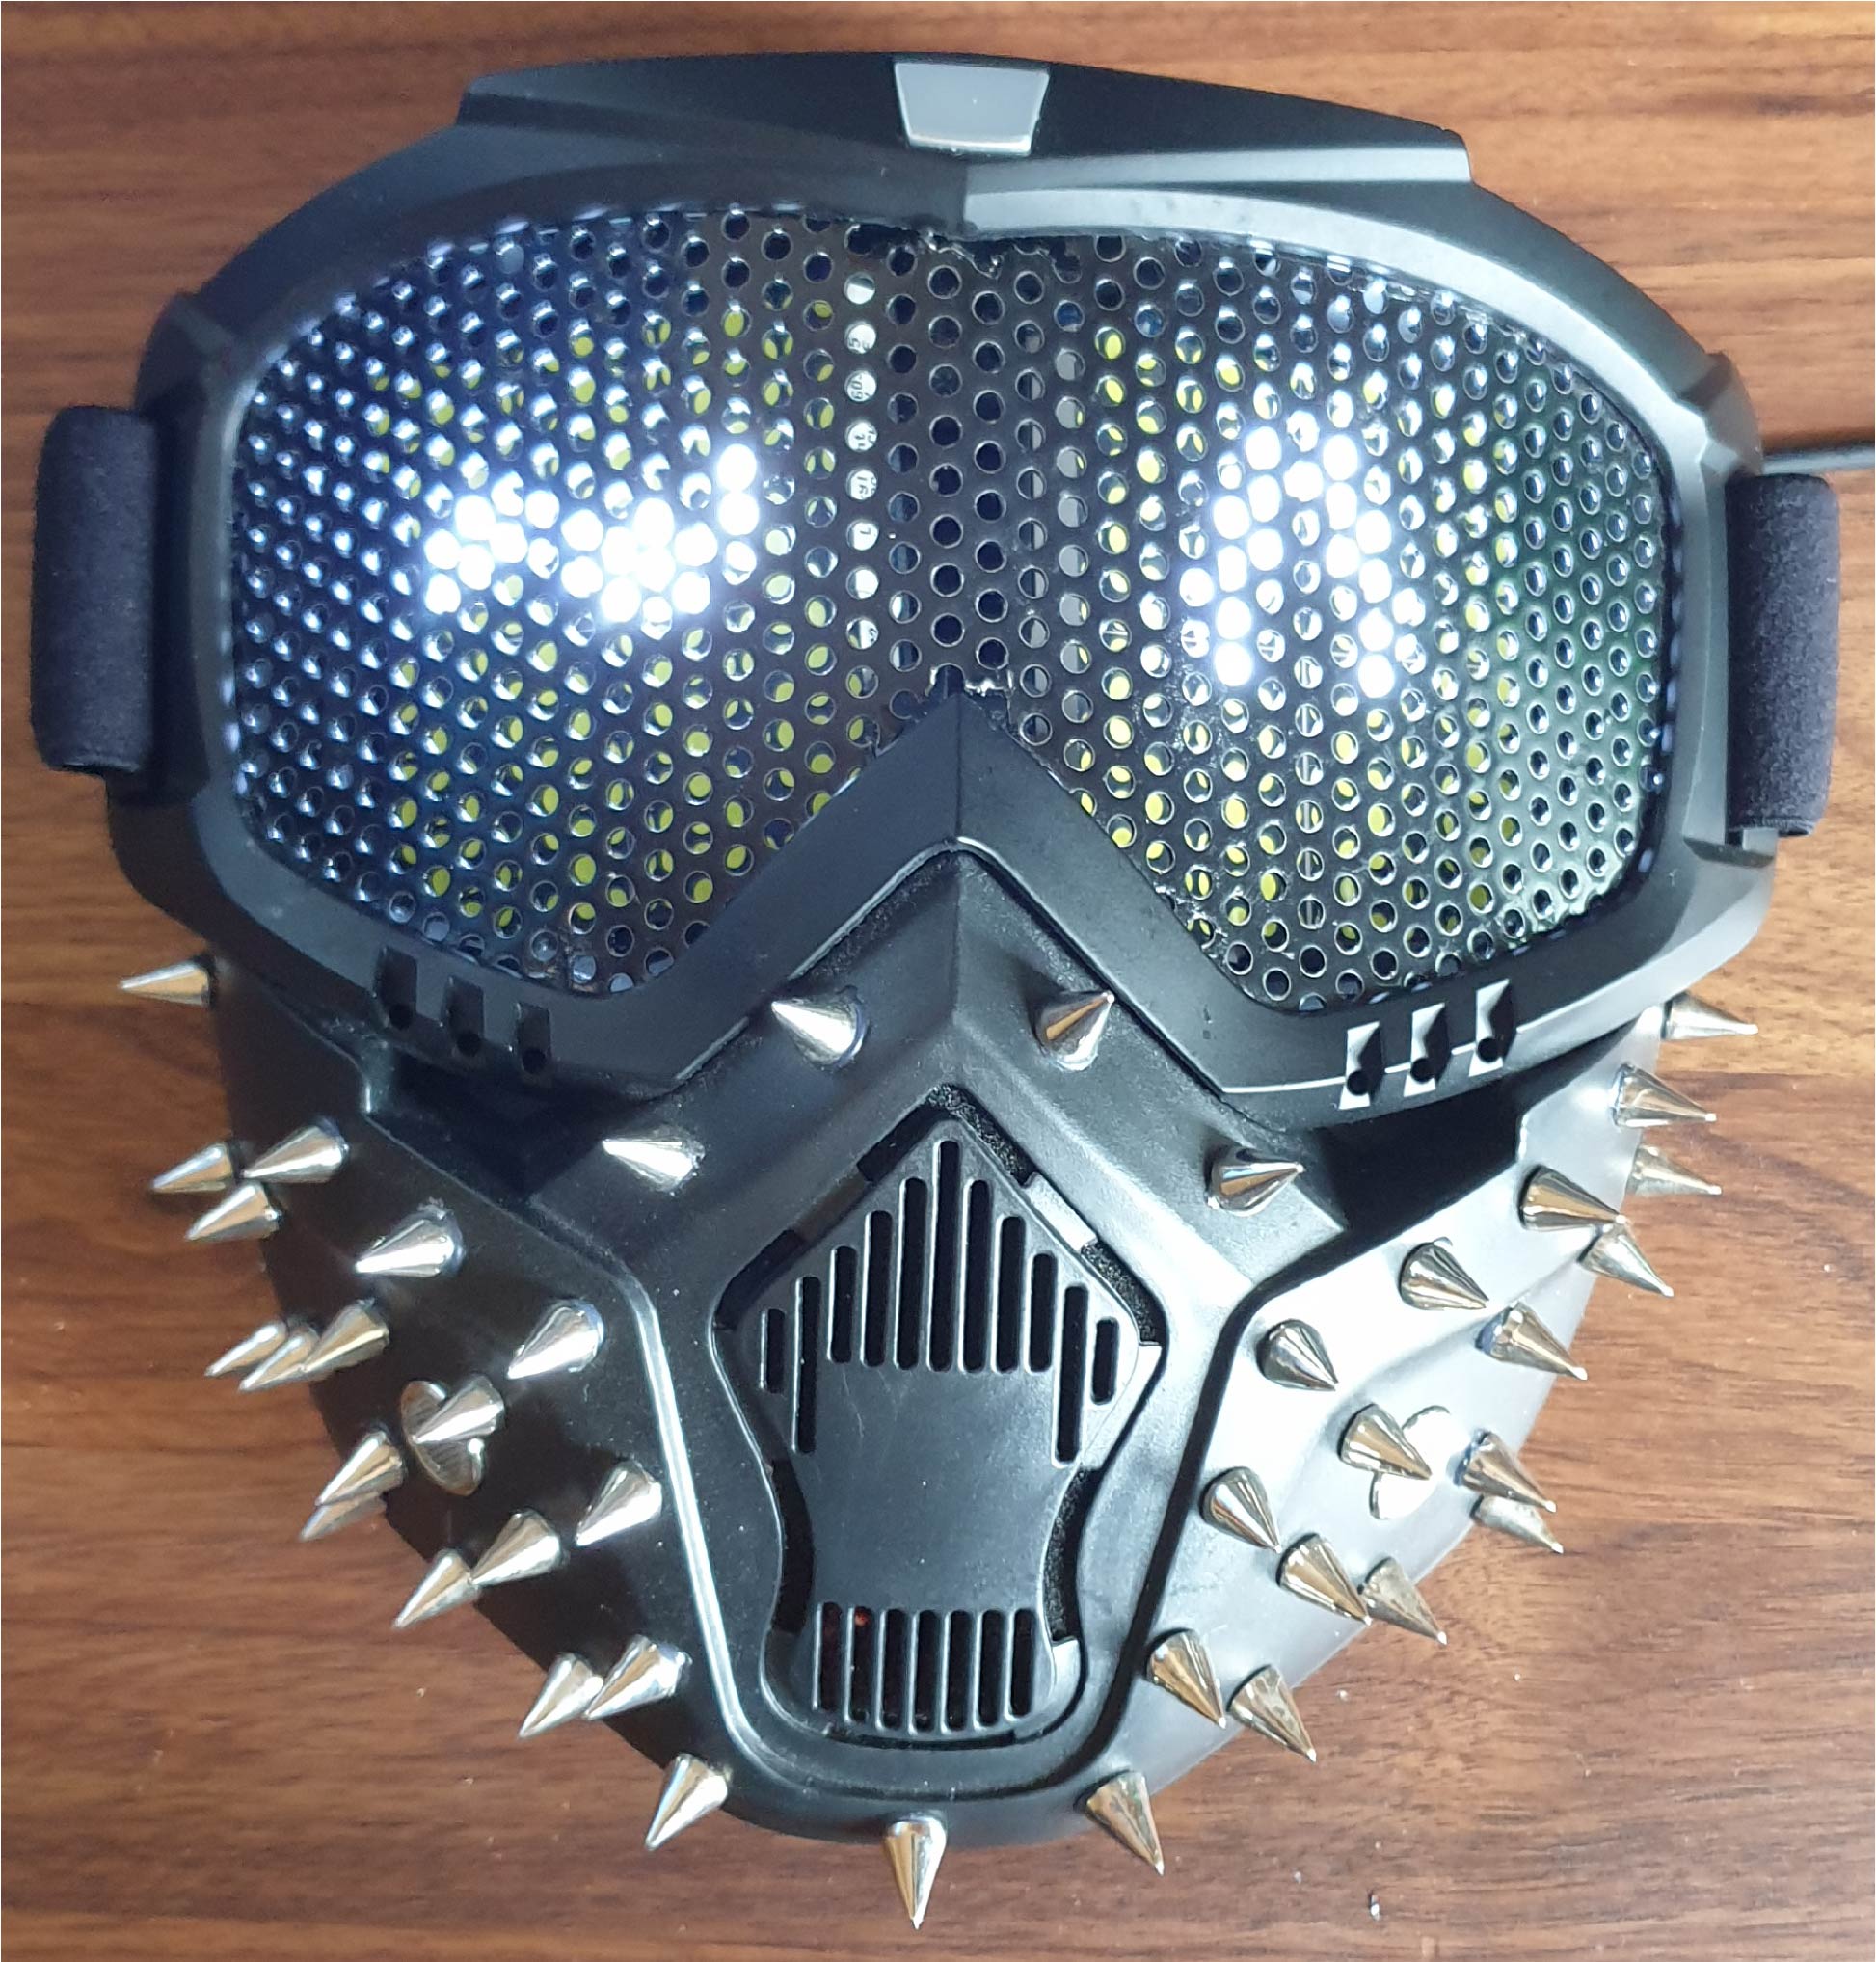
Mask V2
For the final version, I decided to buy a motorcycle mask to house
the electronics, I did this as they come with a guard for the rest
of the face included and the mask if found had larger goggles
making fitting the matrices easier. The same procedure for the
goggles was carried out for the new mask with the peforated metal.
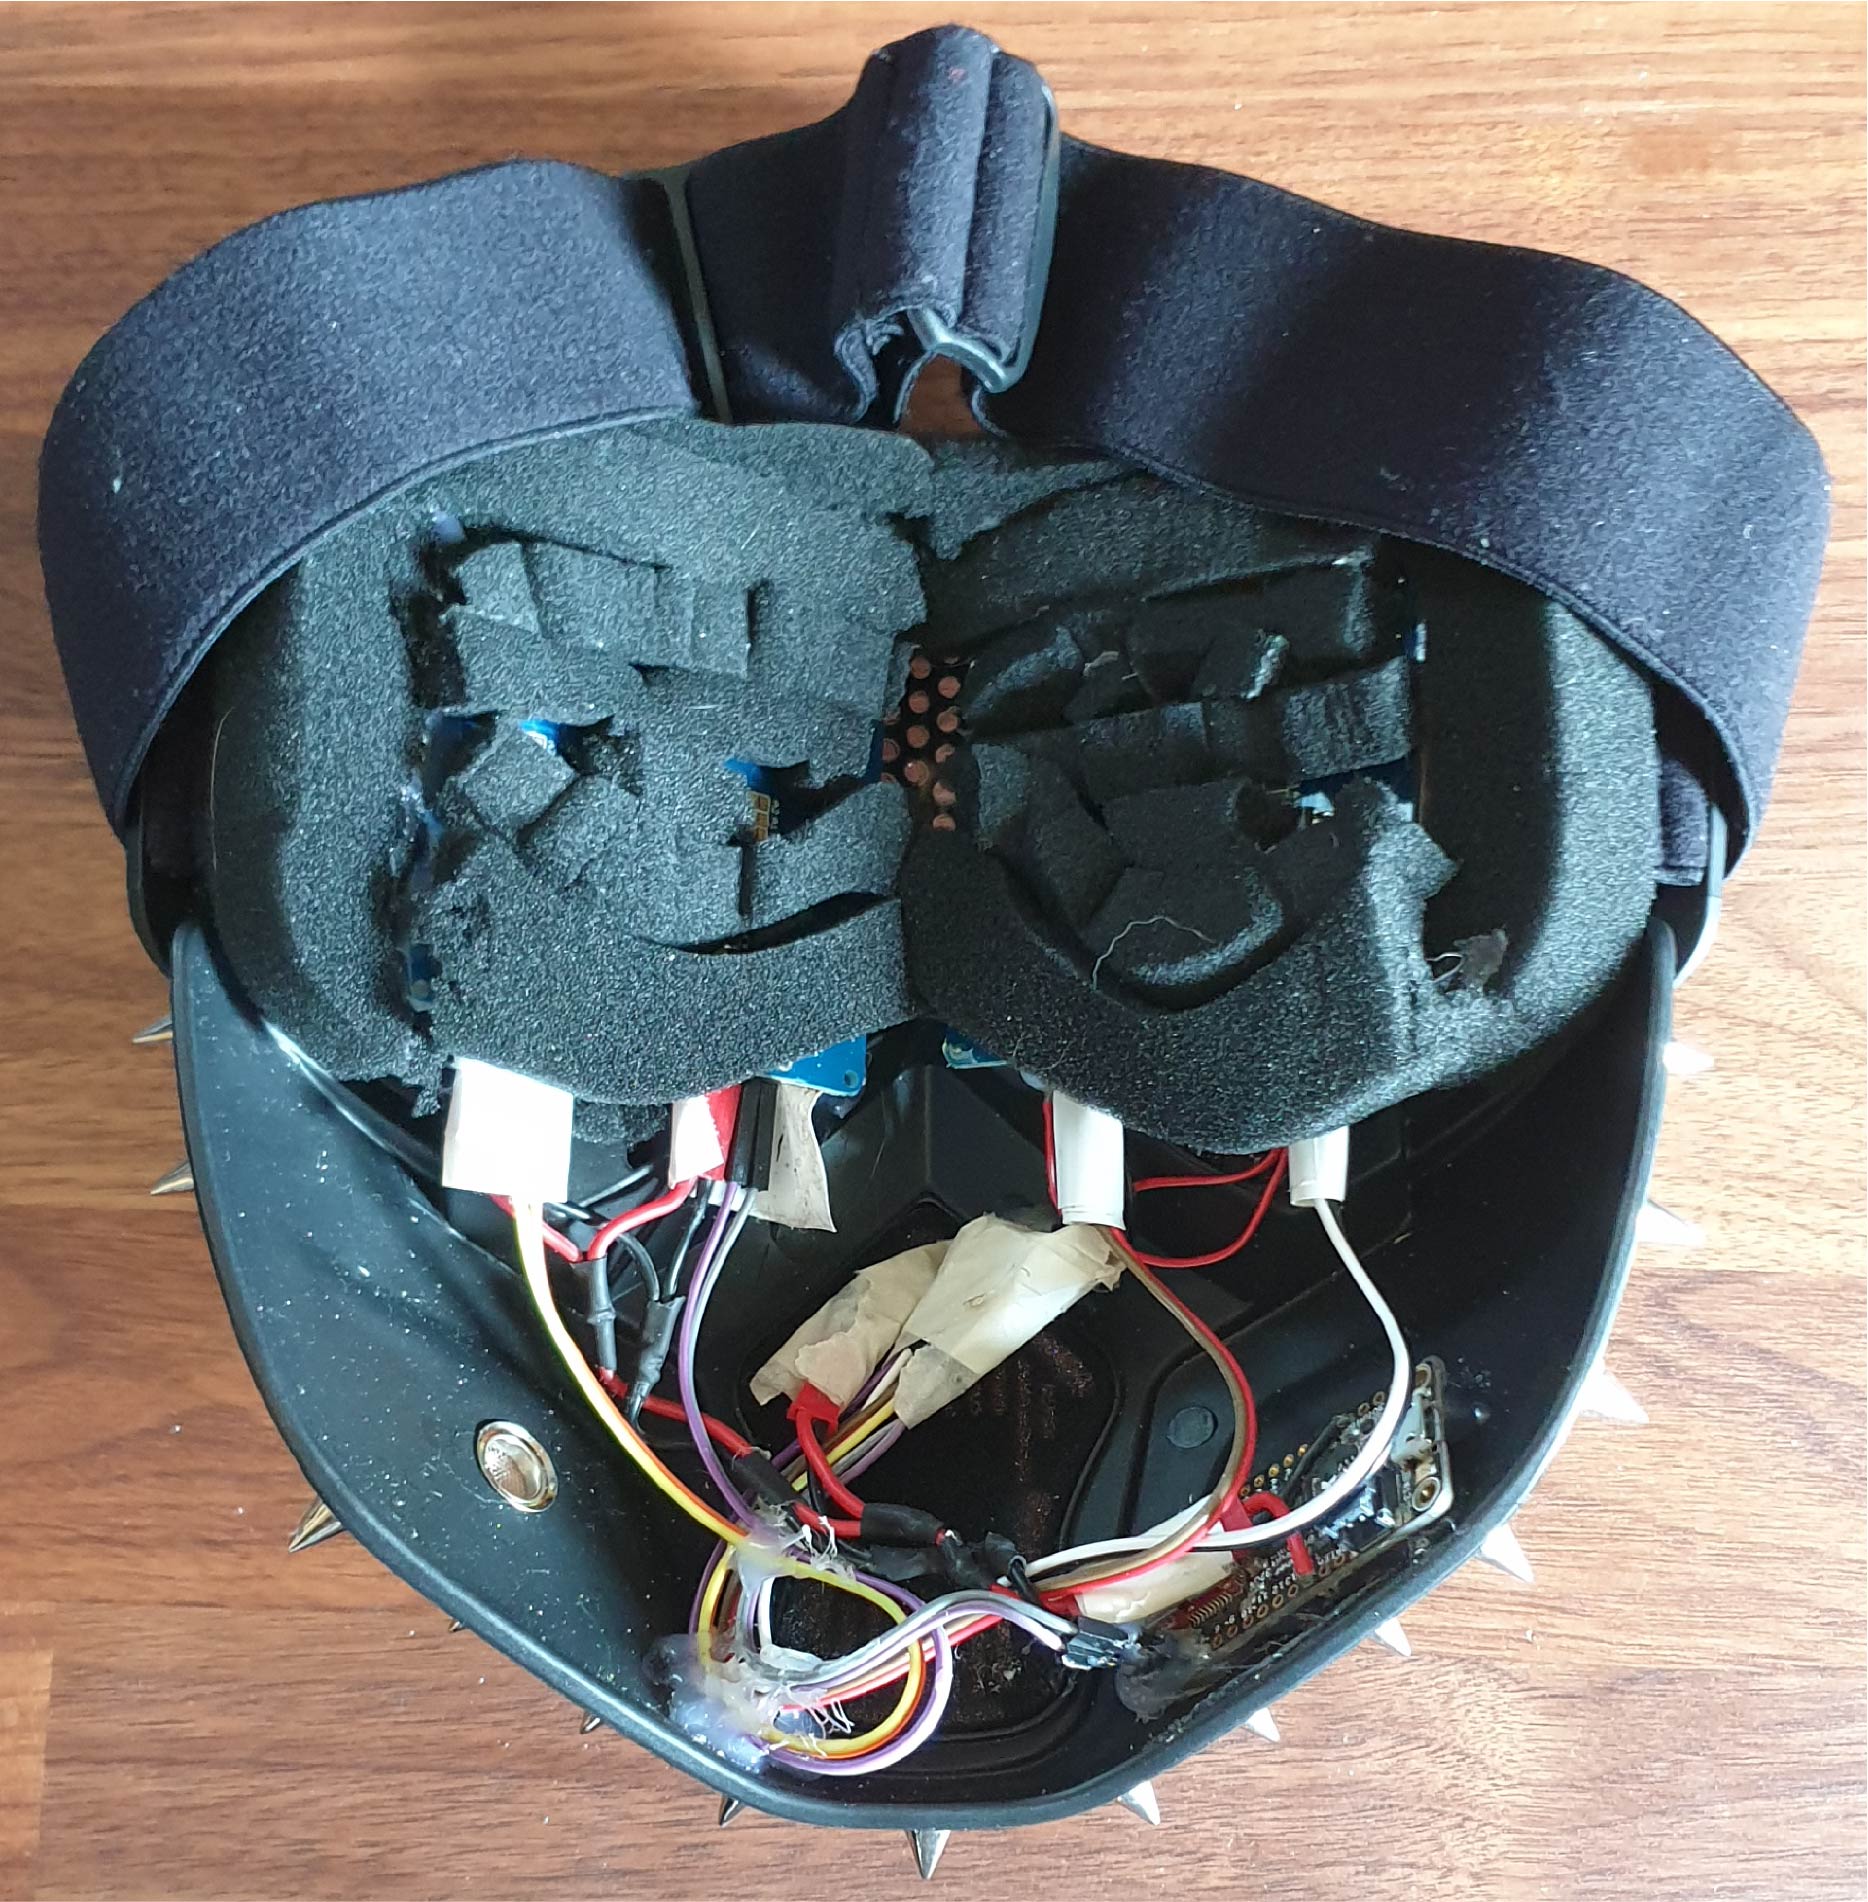
The displays were rotated to have the wires at the bottom, making
fitting them in the mask easier, the feather was hot glued to one
of the cheeks of the mask and foam was hot glued onto the back fo
the displays for comfort. I also re-solderd some components to
make it more secure and more reliable.